
As you stand before the ever-changing labyrinth of Torghast, it’s akin to staring into an abyss, knowing it stares right back, challenging your every move. You’ve likely heard the whispers of its complexity, the tales of its treacherous inhabitants, and the rewards that await those who can navigate its trials.
Whether you’re a lone wolf, intent on braving the shadows solo, or part of a pack, ready to take on the Tower of the Damned with a coordinated assault, you’ll need a game plan. In the coming discussion, you’ll uncover the secrets to mastering Torghast’s mechanics, optimizing your solo strategies, and enhancing group synergy.
You’ll also learn how to select Anima Powers that resonate with your playstyle and how to face down the most formidable bosses. But remember, every choice echoes throughout these haunted halls, and not all who wander are lost—some are just a step away from uncovering strategies that could tip the scales in their favor.
Understanding Torghast Mechanics
Grasping the mechanics of Torghast is crucial for both solo players and groups aiming to conquer its ever-changing challenges. Within the Tower of the Damned, you’re hunting for soul ash, a vital resource for crafting legendary items that’ll boost your might. As you ascend, each current floor presents a puzzle of enemies and obstacles, and how you navigate these will determine your success.
Anima powers are the bread and butter of your Torghast runs. These are abilities or buffs you’ll pick up, drastically altering your capabilities. You’ve got to choose wisely, as the right anima powers can mean the difference between breezing through a floor or facing your demise. Remember, these powers stack, so think about synergy and how they’ll help you tackle tougher foes up ahead.
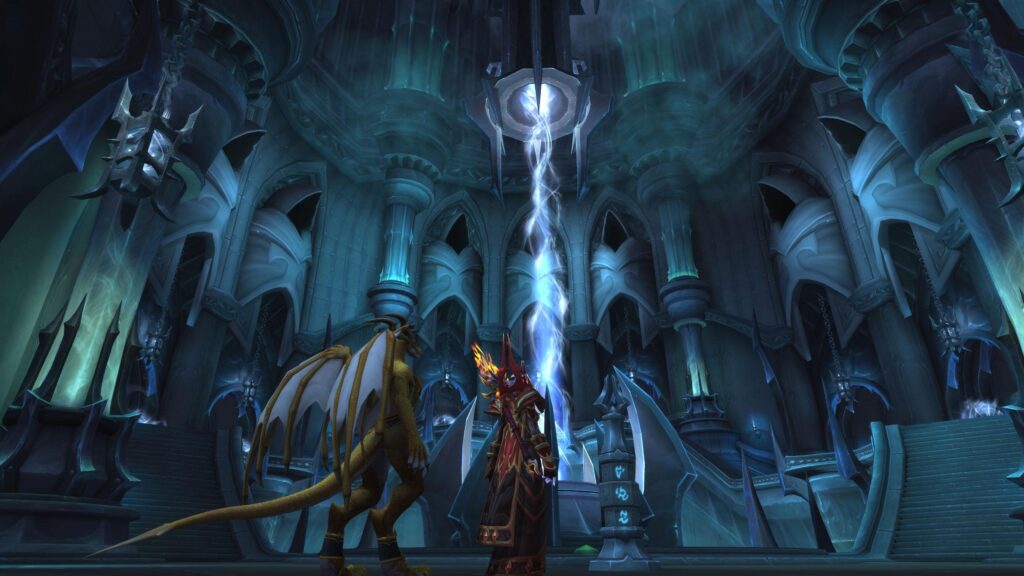
Keep an eye out for broker vendors, the Tower’s peculiar shopkeepers. They offer various goods in exchange for Phantasma, the currency you collect inside. Here’s where you’ll grab extra anima powers, health potions, or perhaps that one game-changing item that’ll carry you through a challenging boss fight. Use your Phantasma judiciously, and don’t miss out on opportunities to gear up before advancing. Every decision counts, and with each floor, the stakes rise.
Solo Play Strategy Optimization
When facing Torghast’s trials alone, it’s essential to tailor your strategy to your character’s strengths and the unique challenges of the current run. If you’re navigating the twisting corridors of the Coldheart Interstitia, the icy environment can be unforgiving. Your gear level plays a crucial role in your survivability and damage output. Make sure you’re well-equipped to handle the denizens lurking within.
As a Balance Druid, you have the advantage of versatile abilities that can adapt to various situations. Utilize your range and AoE spells to control the battlefield. Your solo play strategy optimization should focus on talents and powers that enhance your DPS spec, allowing you to dispatch enemies quickly and efficiently.
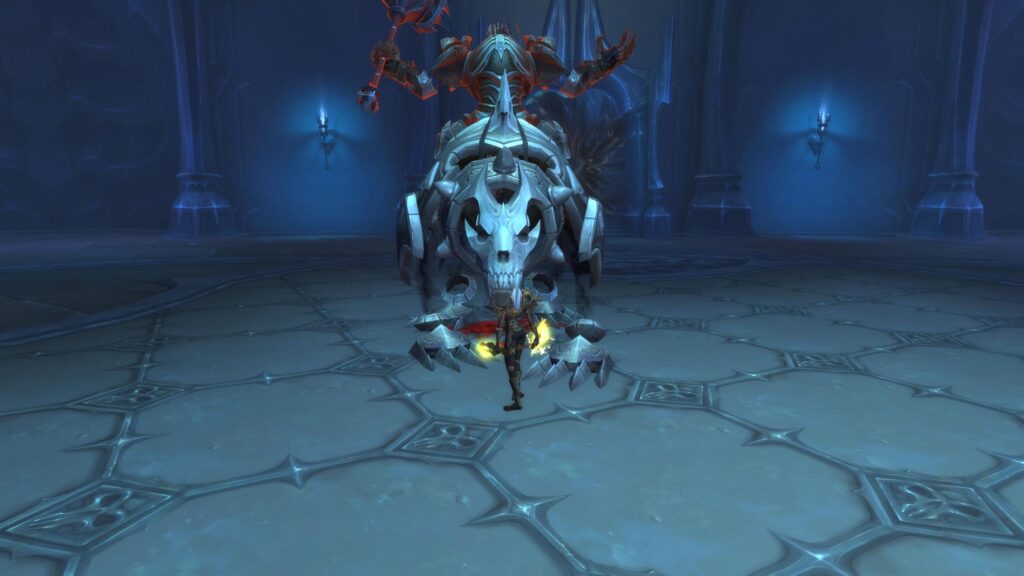
Remember, in Torghast, it’s not just about brute force. Managing your cooldowns and knowing when to burst down a threatening foe or when to conserve resources for upcoming challenges is key. Keep an eye out for Anima Powers that complement your playstyle and address the weaknesses you’re encountering.
Lastly, don’t underestimate the importance of crowd control and self-healing. These aspects can give you the edge you need when soloing, turning a difficult run into a manageable one. Choose wisely, fight strategically, and Torghast’s treasures will be yours for the taking.
Effective Group Synergy Techniques
While solo play demands personal mastery, tackling Torghast with a group introduces the need for cohesive teamwork and effective synergy techniques. Imagine you’re facing a raid boss, as daunting as any mythic raid encounter. Your success hinges on how well you capitalize on class-specific powers and how you address boss mechanics as a unified force.
First, identify each member’s strengths. Does your mage have crowd control covered? Can your priest dispel curses swiftly? It’s about assigning roles that play to each class’s forte, ensuring no overlap wastes those precious powers.
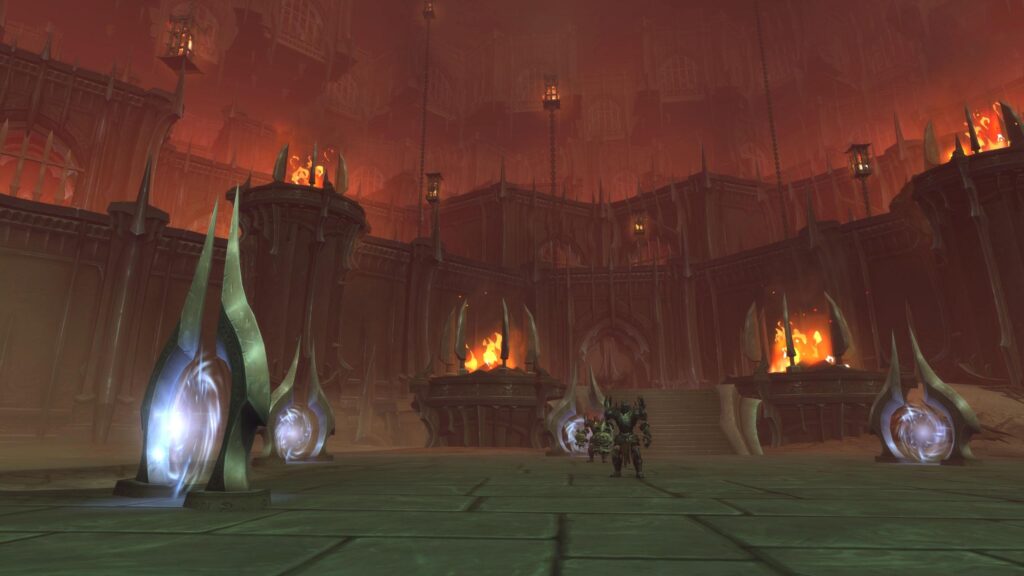
Then, strategize around the boss mechanics. If the boss splits into multiple adversaries, coordinate your AOE spells to maximize damage. When a raid boss fixates on a player, know who’s peeling off to distract and protect.
Effective group synergy techniques are about timing, too. Sync your cooldowns for a burst of collective power, turning the tide in challenging phases. And don’t forget to communicate. Quick, clear callouts prevent chaos when the boss shifts gears.
Choosing Anima Powers Wisely
Selecting the right Anima Powers is crucial to mastering Torghast’s challenges, as each choice significantly shapes your character’s combat capabilities. As you ascend the Tower of the Damned, carefully weigh each Anima Power’s benefits against your current needs and long-term strategy. Remember, while some powers offer tempting immediate boosts, others may provide invaluable assistance on higher floors, like the formidable sixth floor, where bosses test your limits.
Adhering to community guidelines, share insights with fellow players to identify which Anima Powers synergize best with your class and playstyle. For instance, if you’re venturing into the depths of Torghast solo, prioritize powers that enhance your survivability or self-healing. When playing in a group, consider Anima Powers that amplify your role—damage dealers should focus on increasing output, while tanks and healers might look for powers that bolster their defensive capabilities.
Imagine you’re preparing for a raid in Castle Nathria; choosing the right Anima Powers in Torghast is similarly strategic. Each decision can be the difference between victory and defeat. So, take your time, evaluate each option, and pick powers that align with your goals—whether you’re clawing your way through solo challenges or coordinating with a group to conquer the tower’s heights.
Handling Torghast Boss Encounters
Boss battles in Torghast are pivotal moments that demand your full attention and strategic prowess to secure victory. Each boss has unique mechanics you’ve got to watch out for. Start by studying their abilities. Some will cast devastating area-of-effect spells that you’ll need to dodge, while others may focus on powerful single-target attacks.
Here’s the kicker: you don’t have to face them unprepared. Use the Anima Powers you’ve collected to counter the boss’s strengths. If they hit hard with magic, boost your magic resistance. If they summon minions, pick powers that deal area damage or control crowds effectively.
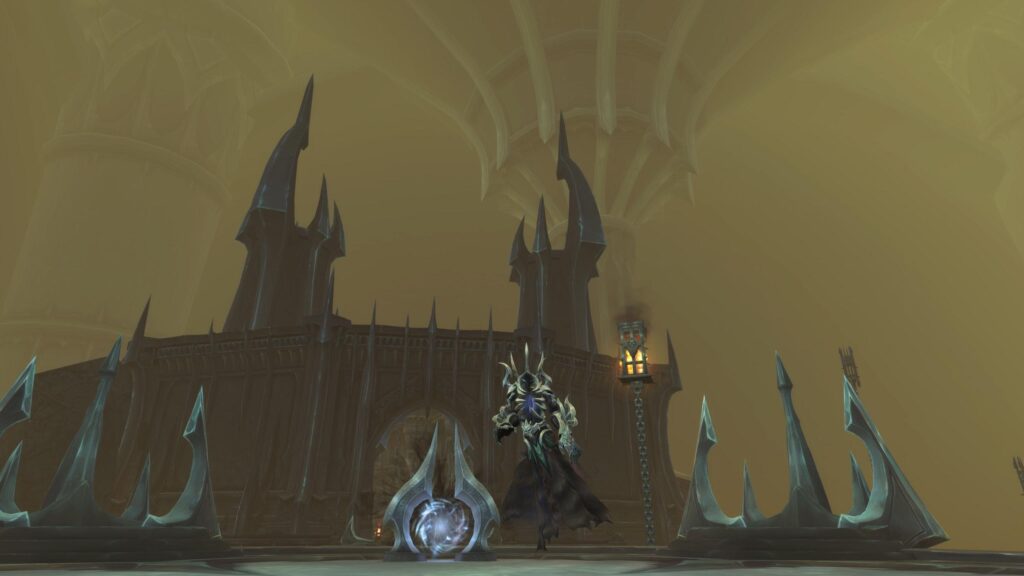
Don’t forget about your consumables. Health potions, flasks, and even food buffs can give you the edge you need. Use them wisely but don’t hesitate to pop a potion if things get dicey.
In a group? Communicate! Assign roles clearly—know who’s tanking, who’s healing, and who’s dishing out damage. If the boss has interruptible spells, call out who’s on interrupt duty. Coordination is key; a well-timed stun or dispel can make all the difference.
Conclusion
You’ve conquered Torghast’s twists and turns, mastering both solo strides and group dynamics. Remember, choosing Anima Powers isn’t just about strength—it’s about strategy.
Did you know that teams using varied class combinations increase their success rate by up to 30%? So, next time you face those daunting bosses, think synergy.
With these tips up your sleeve, you’re not just playing the game; you’re outsmarting it. Now, go show Torghast who’s boss!
Find inspiration in my blog’s captivating articles that entertain and enlighten.